I had a requirement where I needed to create my own custom
data map, but I did not want to do this from scratch. Microsoft Dynamics CRM 2011 differs from CRM
4.0 when it comes to creating data maps.
In CRM 4.0 I could do this using a wizard; however this is not available
in CRM 2011.
Begin by using the “Download Template for Import” option
in CRM from the entity you require a data map for. This creates an xml file with the data map
already included.


Save As a CSV
file
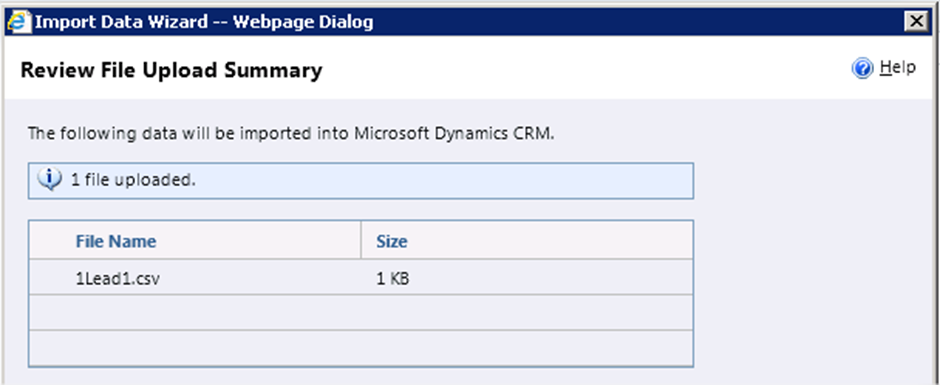
The most import step here is to RENAME the file from Lead to
anything other name. Here I have used a 1Lead1.csv
Select the “Import Data” option in CRM and upload the newly
saved CSV File


Select Default
(Automatic Mapping) option

Select your Entity name from the drop down

Select Next (If
any fields are not automatically mapped, they will need to be done on this
window. Select “Show Unmapped” to find
which fields these are)

Select next on
the review window

The following is where we get the option to create a Data
Map. Enter a Data Map Name.


Now in the Data Management areas in Settings we will be able
to see the custom Data Map.

This can be done for, and not limited to, the following
entities; leads, contacts, accounts, opportunities, address, case,
e-mail, note and quote
No comments:
Post a Comment